FreeNas Storage Appliance #2: Unboxing
Die deutsche Version dieses Artikels findest du hier.
This is a series of posts about building your own custom FreeNAS storage applicance.
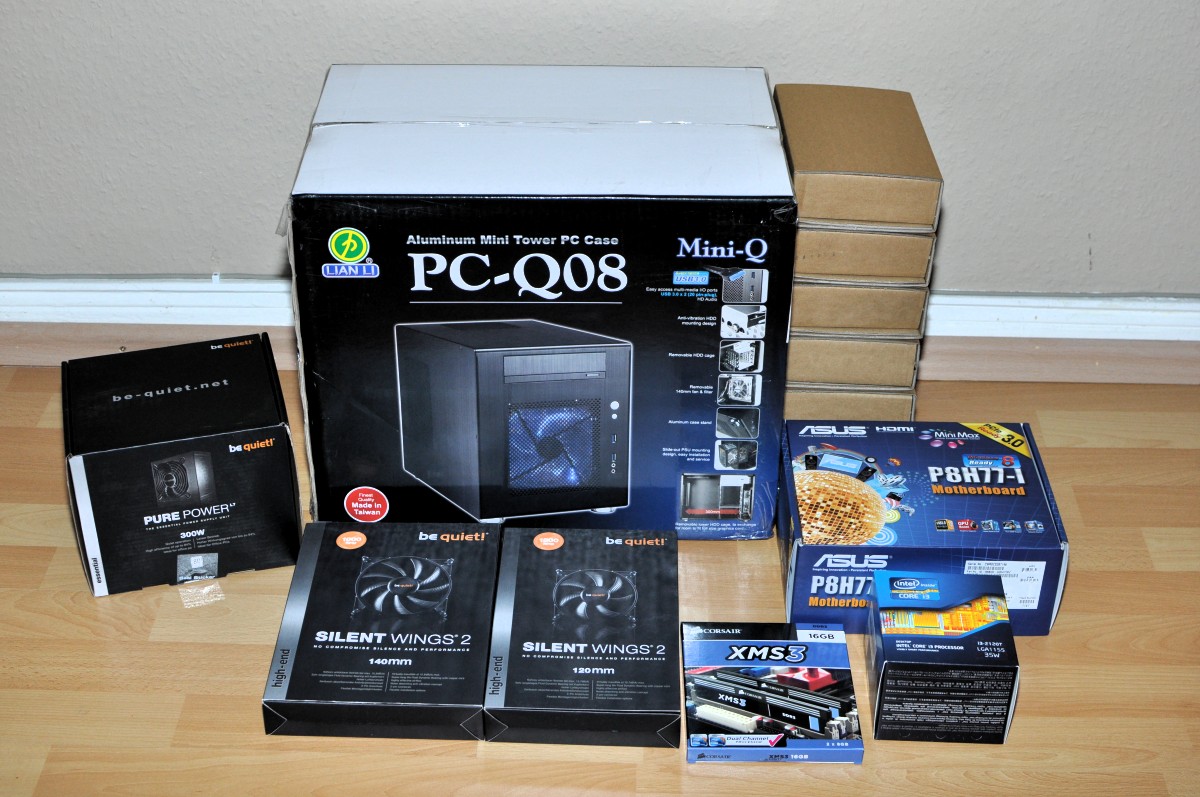
After delivery of all ordered parts, we’re going to have a closer look at them. It were 3 packets in total with a weight of about 10 kg.
Overview #

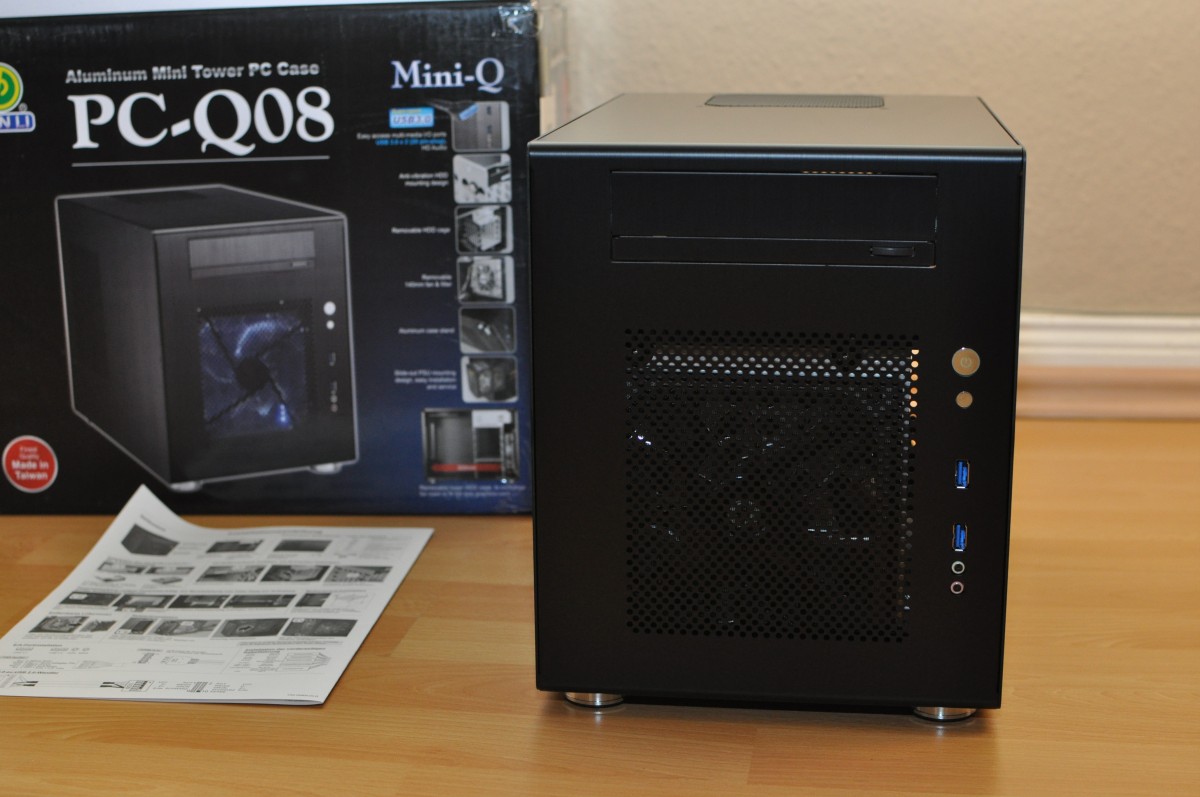
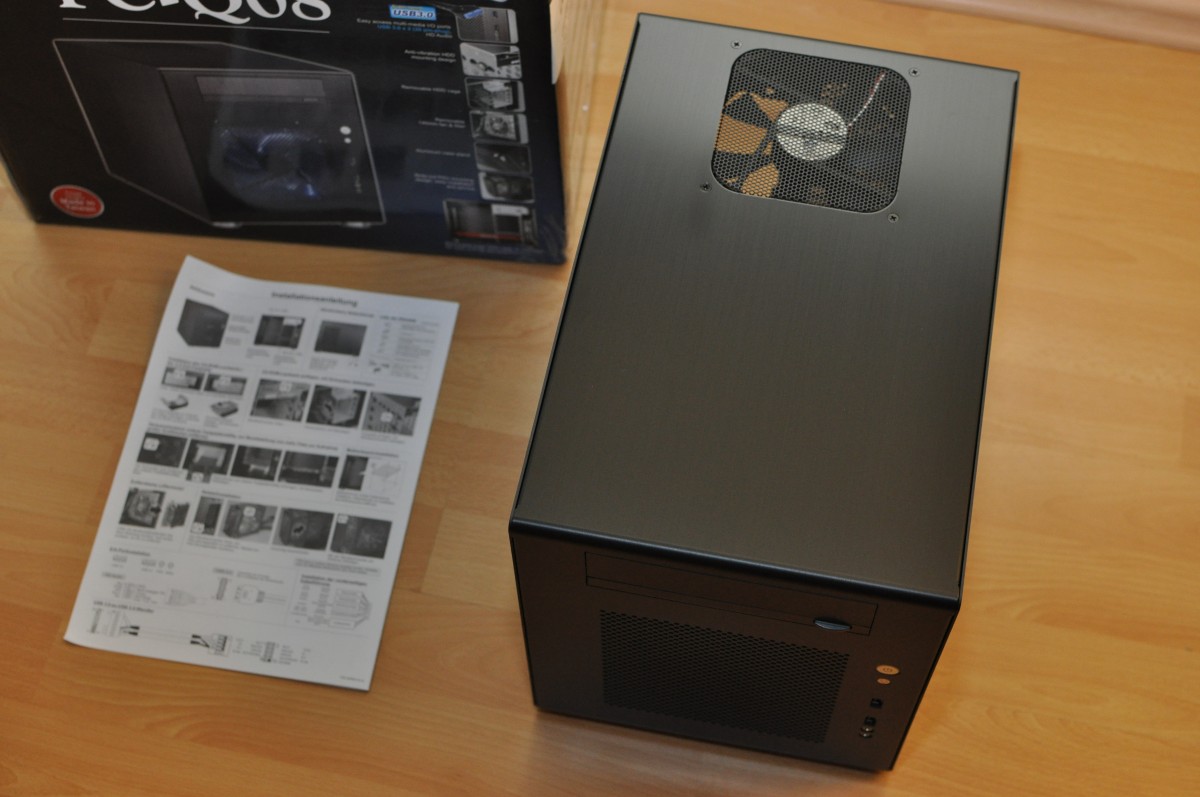
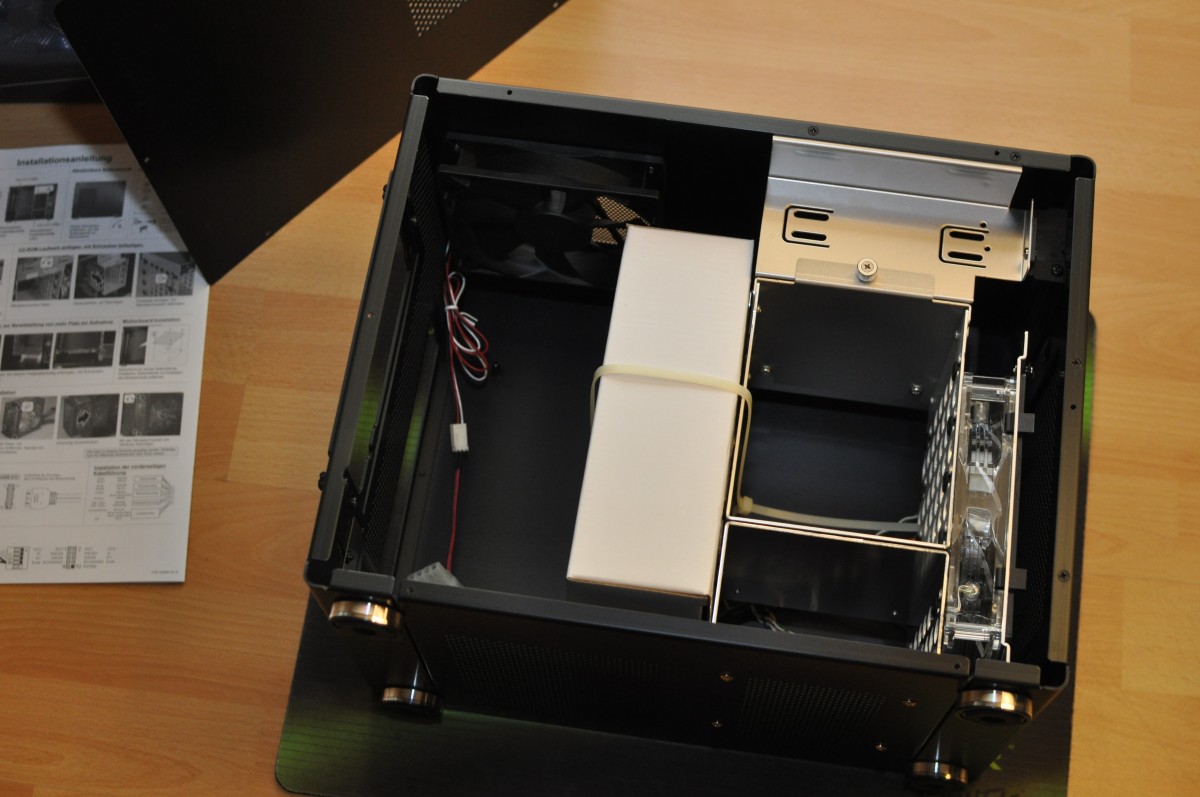
Chassis #
The chassis is very light and well processed. There are not sharp borders. Just unscrewing the side wall was a little complicated, since it’s mounted with six little screws.


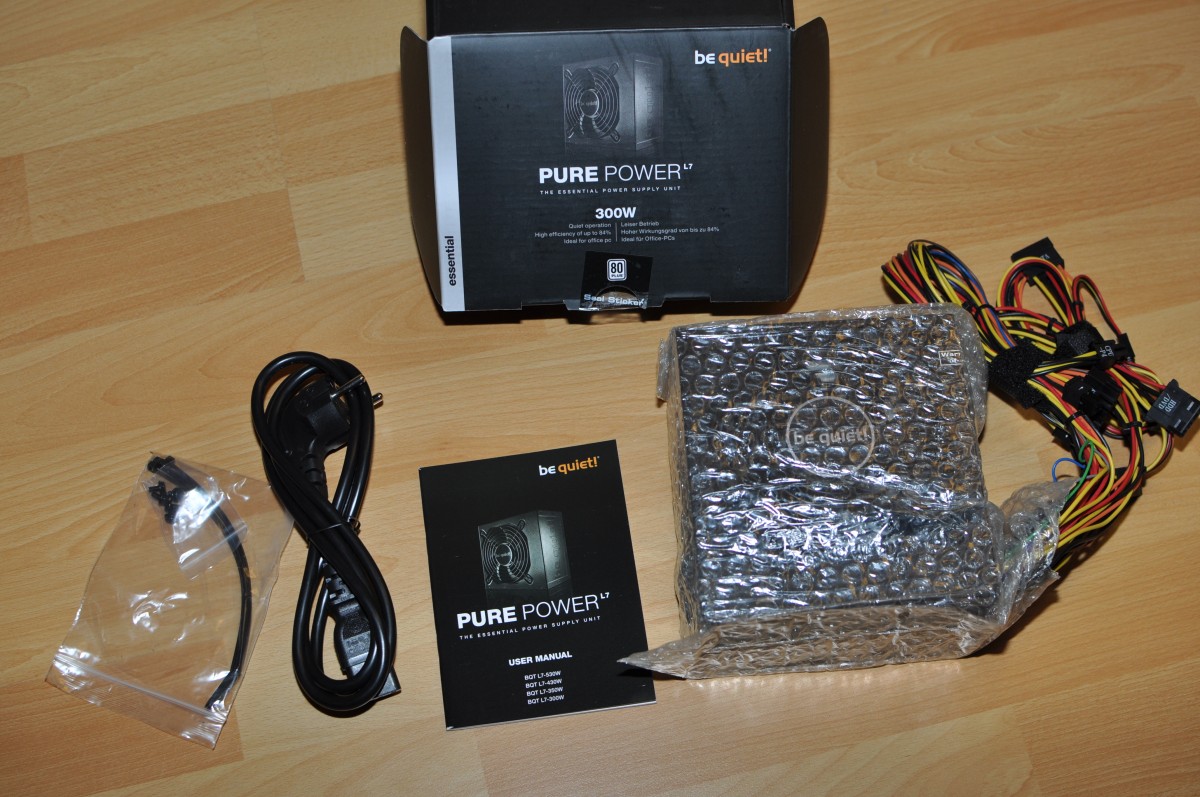
Power supply #
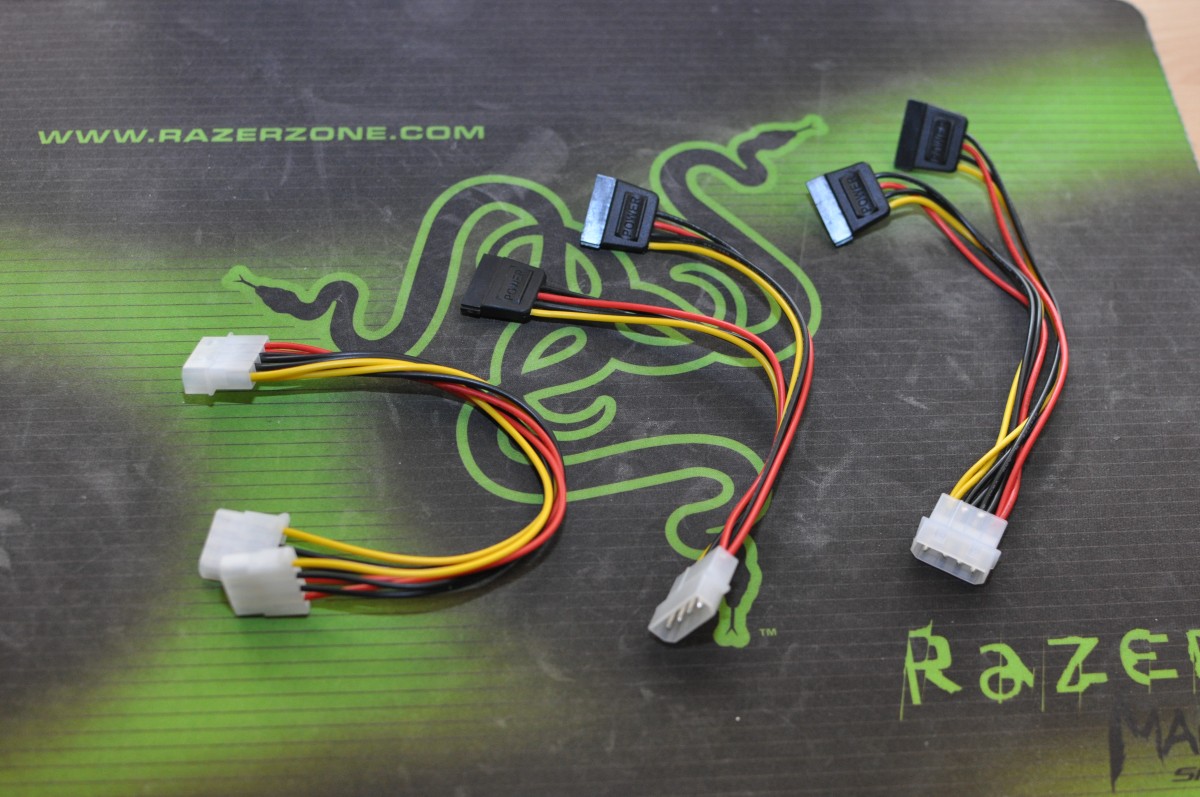
The power supply is shipped with a standard power cord and various cable straps. Since it has only three sata power connectors we’ll be needing additional adapters.


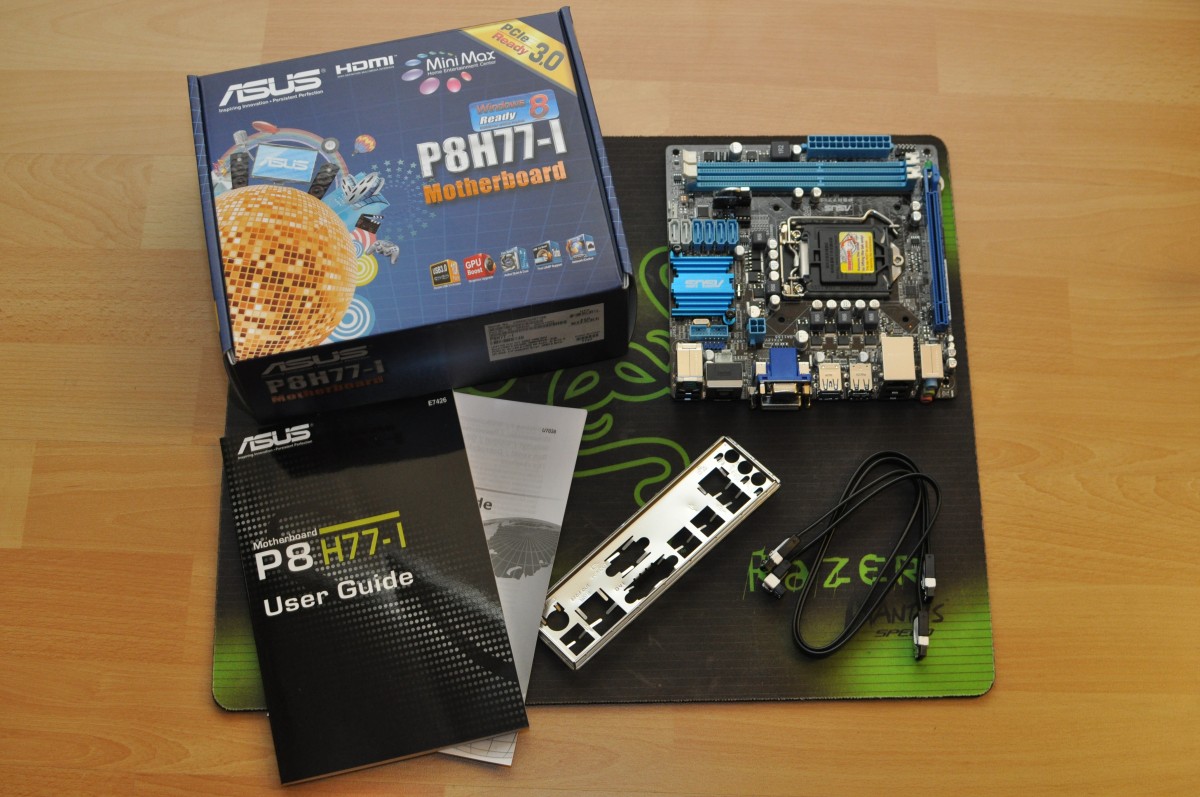
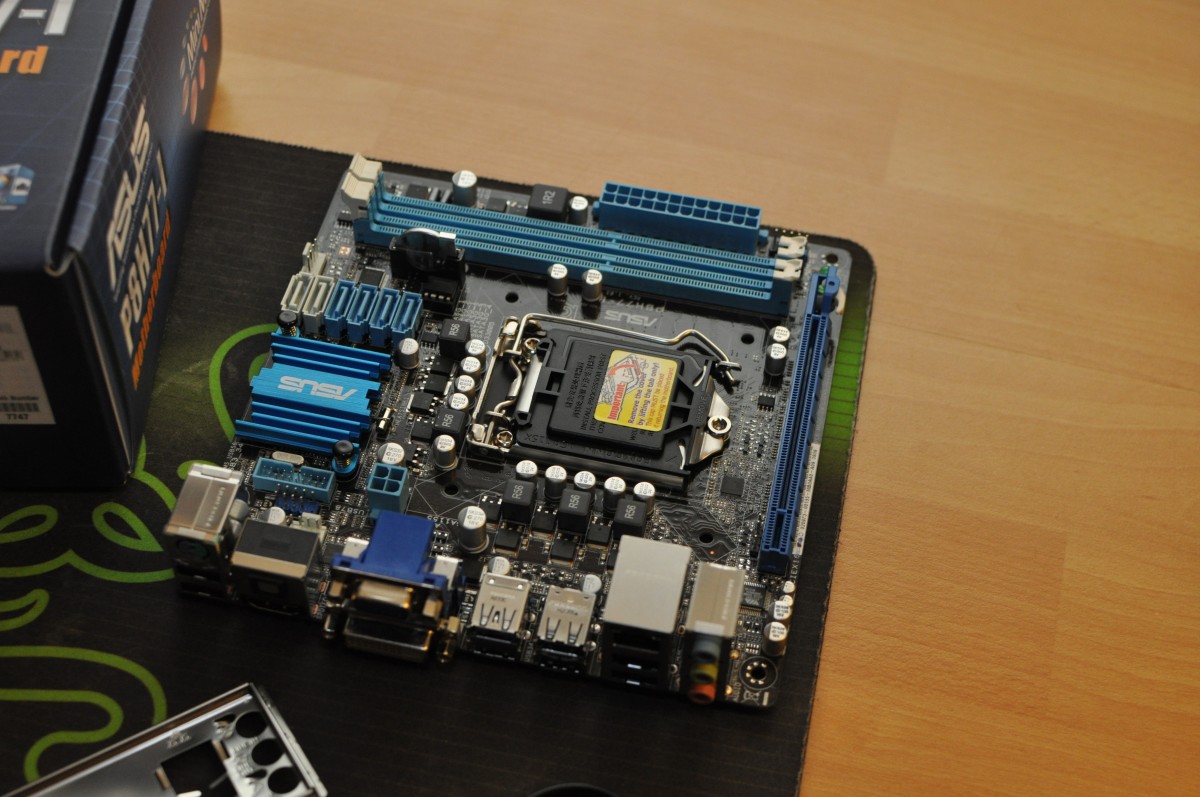
Motherboard #
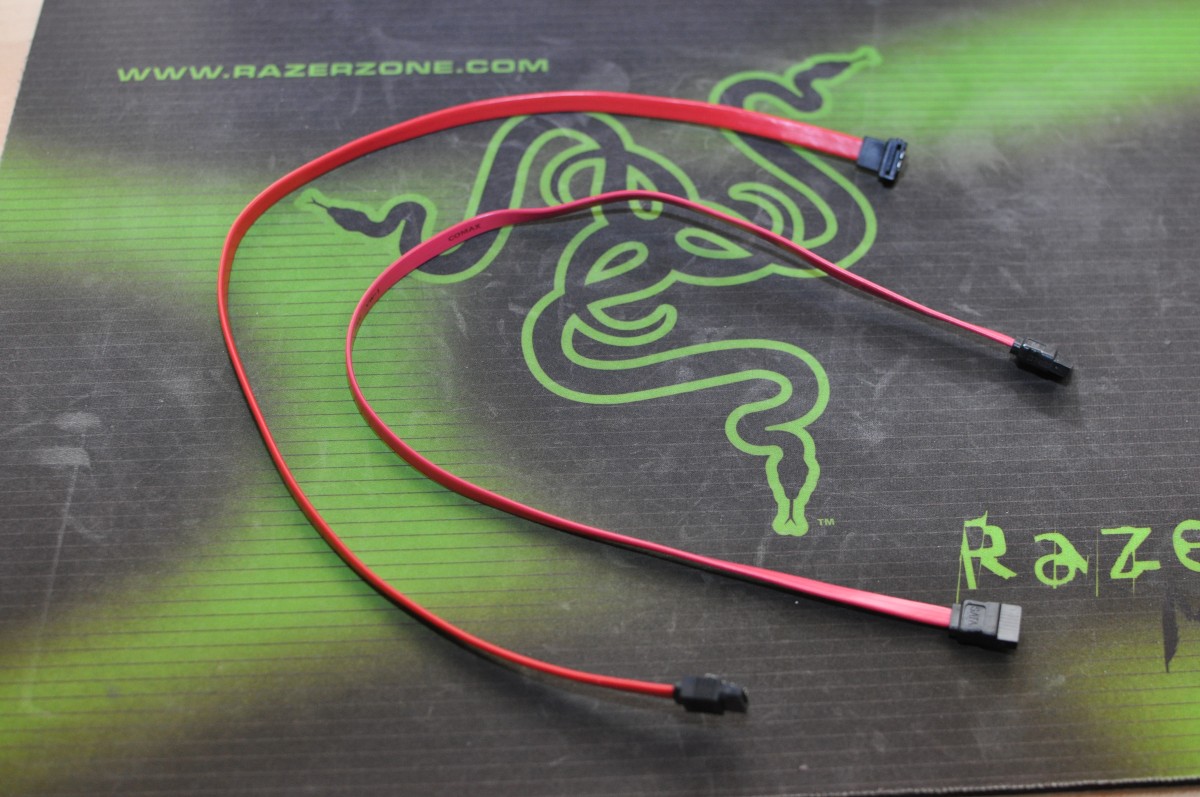
The motherboad ships with a chassis plate and two sata-cables. Thats why we need the six bent sata cables.

Processor & Memory #
Not much to say here.


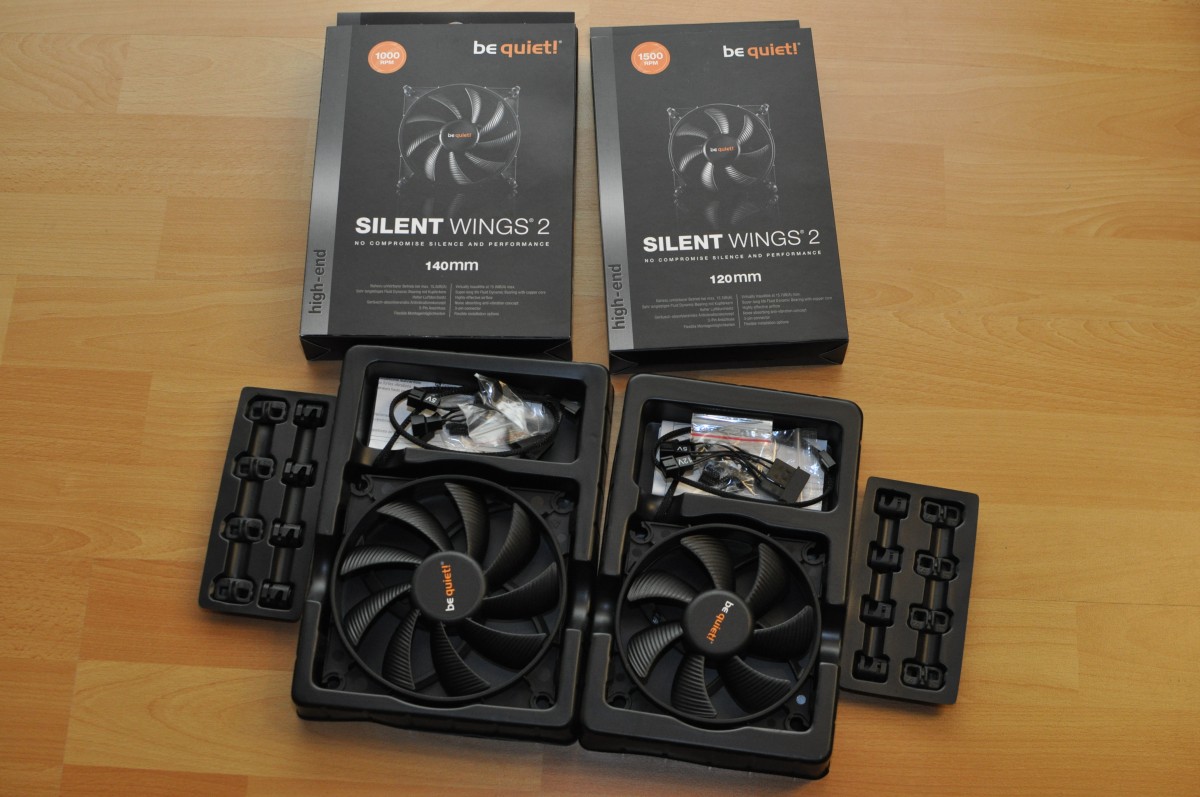
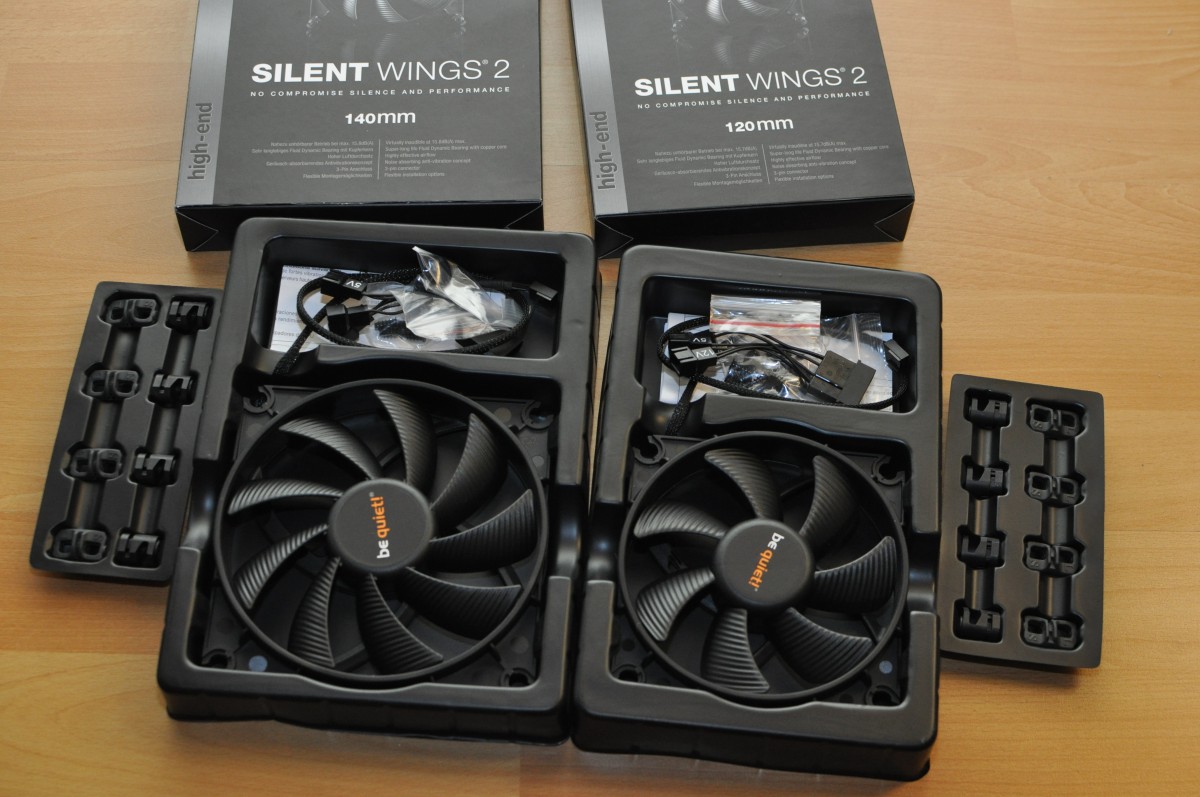
Chassis fans #
The chassis fans have a very nice wrapping and are shipped with hard plastic and anti-vibration fittings.

Hard drives #
The most important part of our storage appliance.
Before assembling I’m checking the S.M.A.R.T. values of each disk to make sure there is no defective disk.


Cable #
Quick addition about the different HDD and SATA cables I used.
That’s with the components.